
How to make fluffy pompoms EVERY TIME
I don't know why, but pom poms make me smile. They remind me of celebrations... Isn't that weird? It is not like there is a birthday, and we hang pom poms or give pompoms as a gift, right? Or wait! Those are actually awesome ideas! 🤔. And before owning this beautiful Pom Maker, I sure did not love making them. I never got them to look like the one in the picture. They were a little more mhmm how can I say it? Depressing?
Owning a Pom Maker sure makes it easy and fun, but there are some tips I still find valuable:
1- If you want to make a dense & fluffy pompom, make sure you are wrapping the yarn around many times. It is best if can pull your yarn a little as you wrap and try to make it tight. Yarn stretches when you pull, and it will relax when let go, making your pompom look fluffier.
2- It might seem like you finished the most important part after wrapping the yarn, but NO! Tying your pompom is CRUCIAL! It is essential to tie the center off as tight as possible to make a fluffy pompom. I found that the same yarn sometimes won't do it because it is not strong enough to be pulled tightly. It is much better to choose a fine, strong yarn, or even embroidery floss works wonderfully.
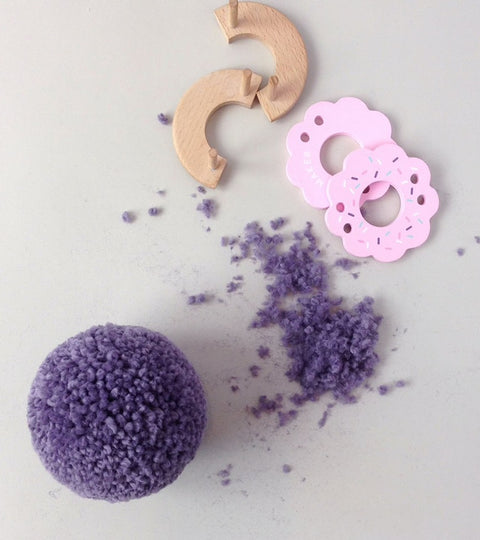
3- Always trim your pompom after you are done. Yes, bring your hairdresser's skills out, and shape that pom!
4- If you are still not happy with its fluffiness, try brushing it. I told you it was a hairdresser job! 🤣 I have a small hair comb that I use to separate the different plies, and it works great!
Of course, know that different yarn types will produce different pompoms! Once you made a pompom you love, take note of what yarn you used! Do you have other tips that will help this community become the best celebrity #pompom stylist? 🧶
Photo credit: @pom.maker