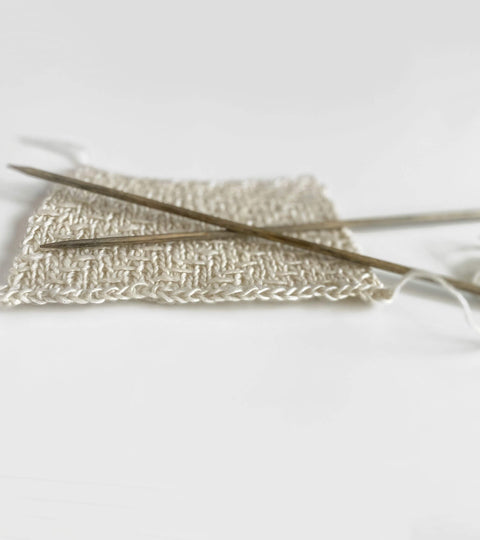
How to Work Jeny's Stretchy Bind-Off (in any stitch pattern)
Some projects require a little extra stretch at the end of the work. I find it super useful for babies or children knits, for example. Once, I made a sweater for my niece that we could not get over her head! I knew there must have been something wrong with the stitch count on the collar, but I was too lazy to rip the collar off. This was my savior technique! It also does wonders for hats, toe-up socks, and baby booties. If you need a super stretchy bind-off in knitting, this is your method.
Created by Jeny Staiman, this method uses yarn overs to produce an extra stretch when binding off.
5 REASONS TO LOVE IT —
1- Simple to do and memorize
2- Super stretchy, but it snugs right back up when you let go. Hello, minimum flare!
3- It looks super cute. Add that extra stretchiness without changing the way the edging looks!
4-Although it requires a little extra time, once you get the hang of it, it goes really fast compared to other Bind-Off methods.
5- Works well on multiple stitch patterns. Learning how to work it on both knit and purl stitches gives you the possibility to bind off any stitch pattern.
TWO IMPORTANT NOTES —
1 -Since it uses yarn overs to acquire that extra bounce, you’ll need a little more yarn than the standard bind-off method.
2- I prefer to use a needle 0.5 or 1 size smaller than the required for the project. I think a smaller needle makes it look a little tighter and minimizes flare. However, this is not mandatory. Give it a try and find out what works best for you!
HOW TO DO IT ON A KNIT STITCH —
1- Wrap the working yarn around your needle as if you were doing a yarn over, but in the opposite direction (from the back to the front instead of front to back).
2-Knit the next stitch. You should have one stitch and the yarn over on your right needle.
3- Insert the left needle into that first yarn over, and pass it over the knit stitch, just like you were doing a normal bind off. You are back to one stitch on the right needle.
4- Make another inverse yarn over.
5-Knit the next stitch. You should have what it looks like 3 stitches on your left needle (2 stitches and one yarn over).
6-Pass over the yarn over the last knit stitch you've just worked. You should have 2 stitches in your right needle. Pass the second stitch on your right needle over the first stitch. You are back to one stitch on the right needle.
7- Repeat steps 4, 5, and 6 until all stitches are bound off. When you have one stitch left, cut the yarn and pull it through the last stitch like you usually do when you finish binding off stitches (or use my method here for a better last stitch bind-off)
HOW TO DO IT ON A PURL STITCH —
When you face a purl stitch, you'll do everything exactly the same as if it was a knit stitch, EXCEPT the inverse yarn over. Work a standard yarn over instead. It's so simple!
Here are the steps if the stitches on your needle are a purl:
1- Make a yarn over (wrap the yarn around the right needle from the front to back and the front again).
2- Purl the next stitch. You should have one stitch and the yarn over on your right needle.
3- Insert the left needle into that first yarn over, and pass it over the purl stitch, just like you were doing a normal bind-off. You are back to one stitch on the right needle.
4- Make another yarn over.
5-Purl the next stitch. You should have what it looks like 3 stitches on your left needle (2 stitches and one yarn over).
6-Pass over the yarn over the last purl stitch you've just worked. You should have 2 stitches in your right needle. Pass the second stitch on your right needle over the first stitch. You are back to one stitch on the right needle.
7- Repeat steps 4, 5, and 6 until all stitches are bound off. When you have one stitch left, cut the yarn and pull it through the last stitch like you usually do when you finish binding off stitches (or use my method here for a better last stitch bind-off).
As you can see, you can bind off any stitch pattern using this simple technique. From rib stitches to more intricate patterns, as long as you follow the rule listed above of doing a reverse yarn-over before every knit stitch and a regular yarn-over before every purl stitch, you can do it! Now, I am curious! Where will you use it?


